| Before
you can configure Spam Assassin settings, you must have Spam
Assassin Software installed on your server. Spam Assassin
Software is $49.00 USD plus $50.00 CAD one-time Setup Fee.
To request installation of Spam Assassin Software, please
contact our Customer
Representatives.
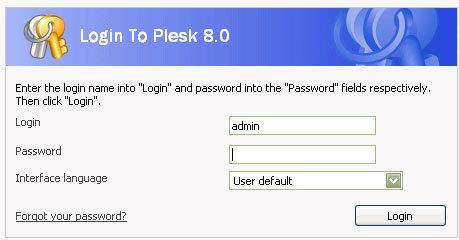
1.
Login to Plesk Hosting Panel as administrator.
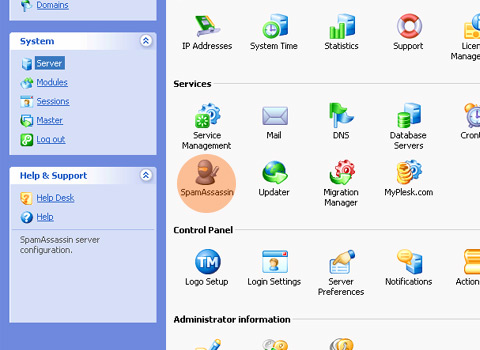
2. Under System, go to Server, then SpamAssassin.
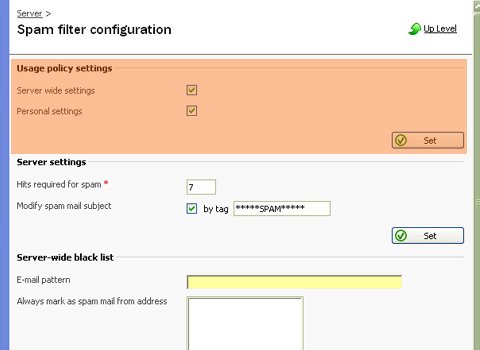
3. To allow server wide filtering based on
the settings you define, select the Server wide settings check
box. To let your users set their own spam filtering preferences
on a per-mailbox basis, select the Personal settings check
box.
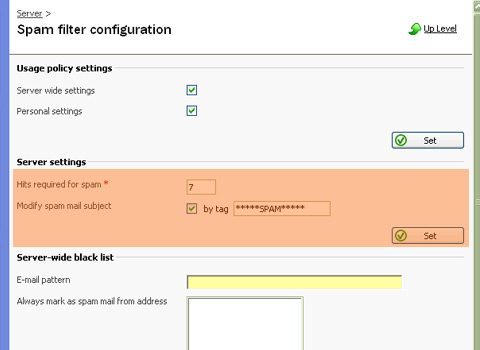
4. Now all the incoming mail will be filtered
on the server side. By default, spam filter does not delete
spam mail, it only adds the "X-Spam-Flag: YES" and
"X-Spam-Status: Yes" headers to the message, and
"*****SPAM*****" text string to the beginning of
Subject line of each message recognized as spam.
If
you have enabled the Personal settings option, then your users
will be able to set their spam filters so as to automatically
delete junk mail. They will also be able to set up their personal
black and white lists of correspondents that will override
the server settings, and teach the spam filter on a per-mailbox
basis.
5. If you do not want your users to receive
e-mail from specific domains or individual senders, add the
respective entries to the spam filter's black list.
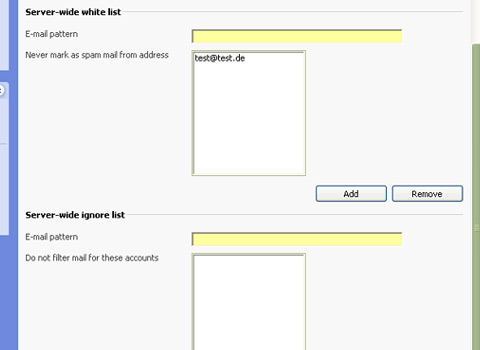
If
you want to be sure that you and your users will not miss
e-mail from specific senders, add their e-mail addresses or
entire domains to the spam filter's white list.
To
specify e-mail accounts for which mail should not be filtered,
add the e-mail addresses of your users to the spam filter's
ignore list.
6. Once finished with setting up SpamAssassin
spam filter, click Up Level to return to the previous screen.
|


 Spam Assassin Tutorial